Floor and Ground Installation
Royal Thin Brick may be installed indoors or outside. When installed indoors it is essential to use a proper and prepared substrate, just as you would for a tile floor. Outside, Royal Thin Bricks can be installed over a concrete slab. This video shows installing Royal Thin Brick over a concrete slab outdoors. Watch our installation video for this type of installation.*
*Consult local building code for regulations before installation.
**Consult the panel system manufacturer for installation instructions.
Thin Brick Floor Installation Steps
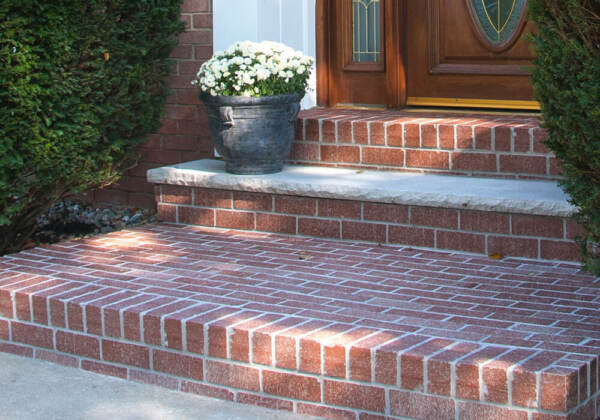 Begin by choosing the area where you are going to install Royal Thin Brick®. Because it is low absorption (vitreous), Royal Thin Brick can be used indoors or out.
Royal Thin Brick installs just like tile, using tile setting methods.
The bricks must be installed over a clean, flat substrate of the correct material.
Outdoor installation over concrete may require a crack isolation and/or waterproofing membrane. The concrete must also be void of large cracks, flat, free of paint or other contaminates, cured, and thick enough to support your installation.
Consult the adhesive mortar manufacturer, substrate manufacturer and the Tile Council of North America’s Tile Handbook for details on floor tile installation.
Always check with local building to make sure all materials meet codes and requirements.
Note: Some installation areas are best left to the professional tile installer.
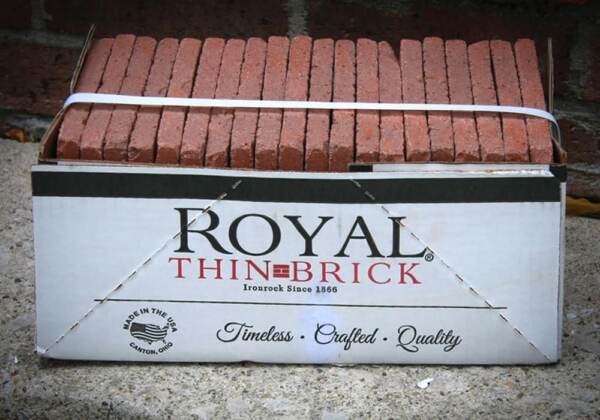 Determine how many bricks you will need for your project. Each box of Royal Thin Brick contains approximately 6.5 sq. ft. of bricks.
You will need the following to install your bricks:
- Chalk line
- Tile spacers (3/8”)
- Heavy duty drill (to mix material)
- Drill mixing attachment
- Notched trowel (3/8”)
- Tile sponges
- Thinset
- Grout
- Bucket(s)
- Nylon scrub pads
- Terry cloth towels
- Wet saw or heavy duty tile cutter
- Rubber gloves
- Tape measure
- Grout float
- Small trowel
 Find the center of your floor and lay out a guide using a chalk line. It is important to determine your pattern and cuts before you begin installing your bricks.
Understanding how your installation will look at each end point and making adjustments before beginning will make for a better installation. Once determined, laying out a grid with the chalk line will help.
Note: Tile installations must be designed to allow for some movement in surrounding materials. This can be achieved by correct installation methods, including the use of expansion joints (where applicable). Consult a tile professional for help with determining what will work best for your installation.
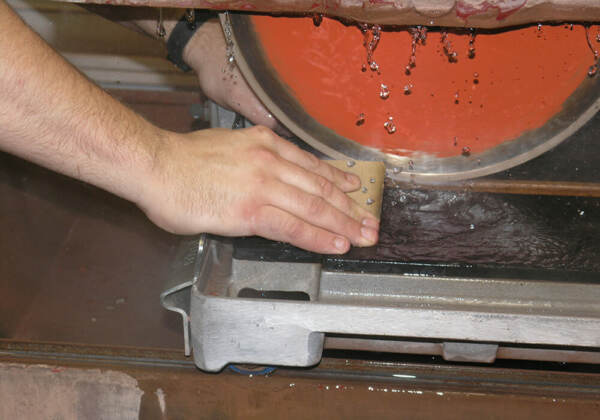 You will need a wet saw to make the necessary cuts for your pattern. The saw shown above is an industrial grade saw. You can use a smaller tile saw or heavy duty tile cutters as long as they are capable of cutting thick/dense material.
You may at this point want to cut all the pieces for your installation so that you can “dry lay” your floor. The other option is to make cuts as you go along. The option you choose may depend on the size of the installation.
 Mix the thinset per the manufacturer’s recommendations. Different types of thinset are used for different applications including outdoors. Consult the thinset manufacturer for the right thinset for your job. Only mix up enough thinset as you can easily use before it begins to cure. Mix up smaller batches at first until you begin to see how much you can use at one time.
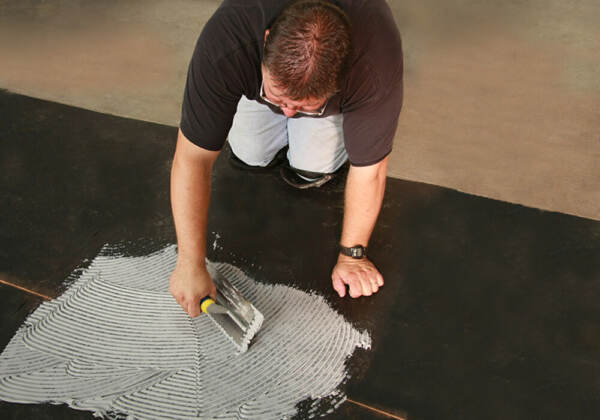 Begin spreading thinset using a 3/8” notched trowel. Spread the thinset holding the notched trowel at a 45º angle to the floor. Work on a small area – as far as you can reach – to begin installing the bricks.
 Bricks should be 100% covered by the mortar when pressed in to it. If you feel you are not getting complete coverage on the bricks you may choose to back butter them before pressing them into the mortar.
Note: When back buttering the bricks apply a thin even coat with a small trowel. It is important that the bricks are pressed down evenly into the mortar and do not create high and low spots. Also be careful not to have so much mortar on the brick that mortar fills the joints when you press them down.

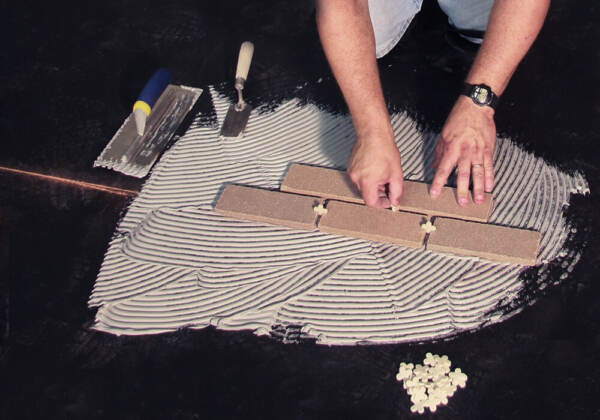
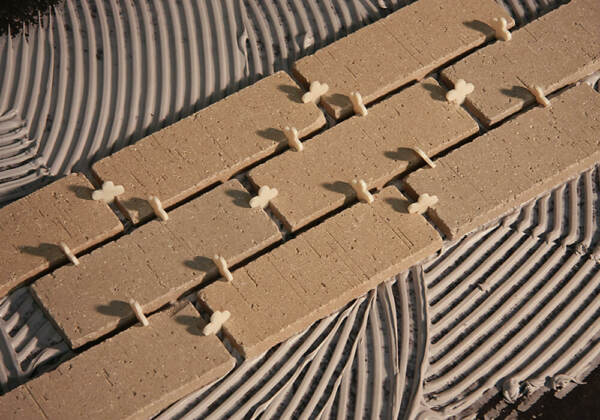
The pictures show how the bricks look set into the thinset.
Note the use of the tile spacers. The spacers can either be removed as you work or at the completion of your job.
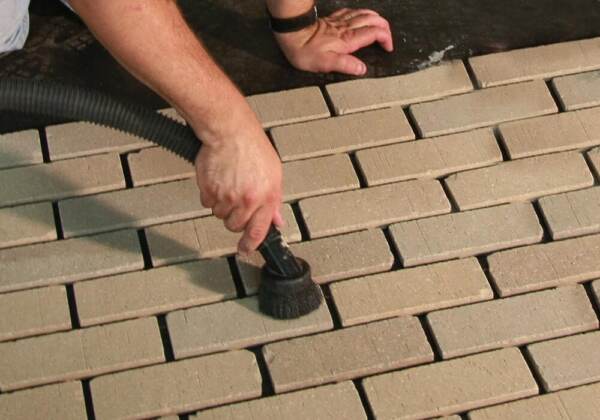 Once the floor is installed and the spacers have been removed, it is a good idea to vacuum off any dust and debris before grouting. Because Royal Thin Bricks are tumbled they come out of the cartons dusty. Vacuuming the bricks will help keep any contamination from getting in the grout.
Note: At this point, you may want to seal your floor using a water-based penetrating sealer or brick enhancer. This step will make clean-up easier and leave less grout in the surface of the brick. Do not use a surface-type sealer.
If having excess grout on the surface is part of the desired look, then you may want to skip sealing.
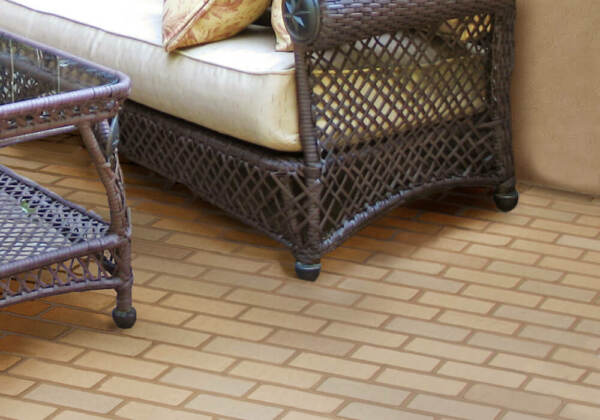
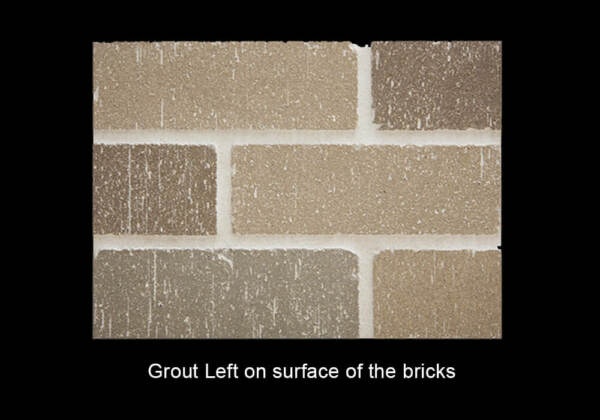 This image shows how a floor will look with grout left on the surface. Even when using a sealer, there will be some grout trapped in the wire cut texture of the bricks after clean up. This can add character to the bricks and enhance the floor, but it is important to choose a grout color you will be happy with.
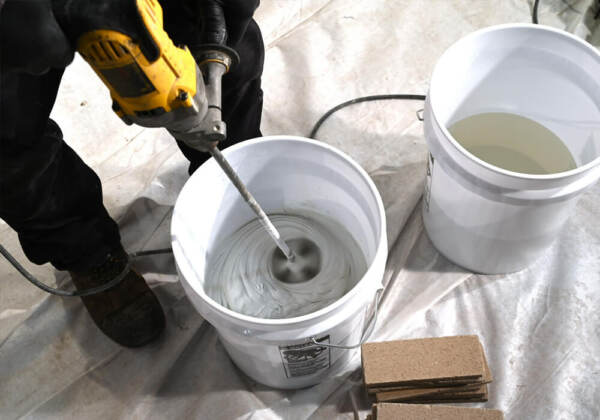 Mix up the sanded grout of your choice. Use the same sanded grout as is used for tile. Follow the manufacturer’s instructions when mixing grout.
Note: Choose your grout color carefully because different grout colors can change the appearance of the floor.
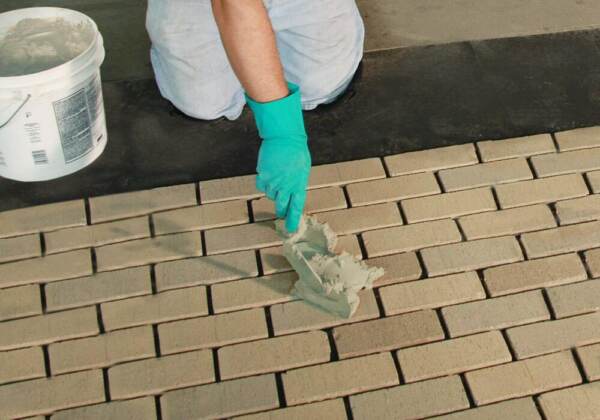 Begin troweling grout onto the floor. Start with a small amount until you see how easy it is to work with.
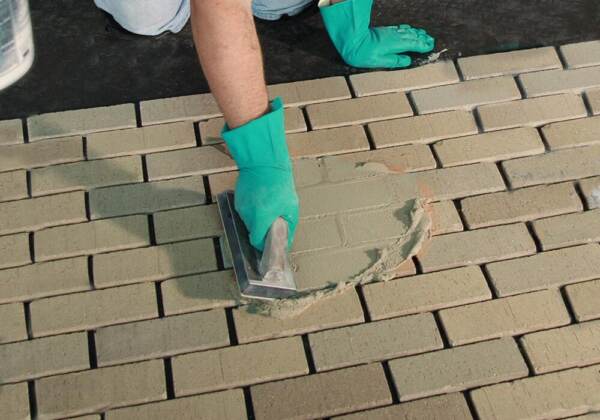 Use the float tool and spread the grout into the joints making sure that the joints are completely filled with grout. Work all of the grout you have scooped out into the grout joints, then get more grout and repeat the process until your entire floor has been grouted.
Note: If your floor is large you may need to work in sections, grouting and cleaning a section at a time to prevent the grout from hardening before you can get it clean.
 Begin sponging clean the floor using damp tile sponges. Wring the sponge out in a clean bucket of water as it dirties. Take care to use clean sponges and clean water as you go, and follow the grout manufacturer’s cleaning instructions.
After a number of cleanings, you will be able to see the bricks showing through the grout. This ‘light haze’ point is a good place to stop because over-cleaning can cause too much grout to be pulled out of the joints.
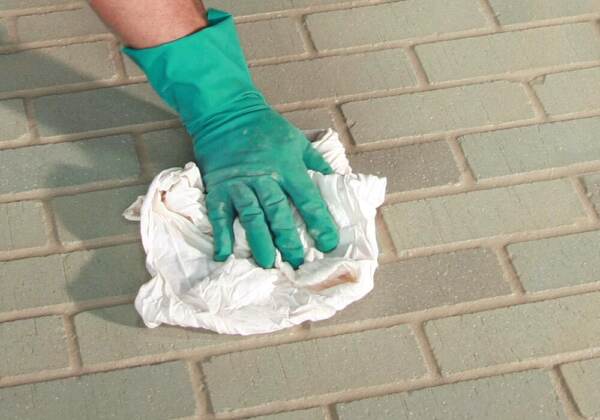
Once the grout has had a chance to begin to cure, following the grout manufacturer’s instructions, you can clean the bricks further with a terry cloth towel.
When the grout has fully cured you may want to remove any remaining haze with a grout haze remover and nylon brush or nylon scrub pad. It is at this time that you may choose to seal your floor with a penetrating sealer or brick enhancer to help protect and enhance the beauty of your floor.
Thin brick can also be installed on a vertical surface such as a wall or backsplash. Click here to learn more.
Installation Questions?
We’re here to help architects, designers and installers.

